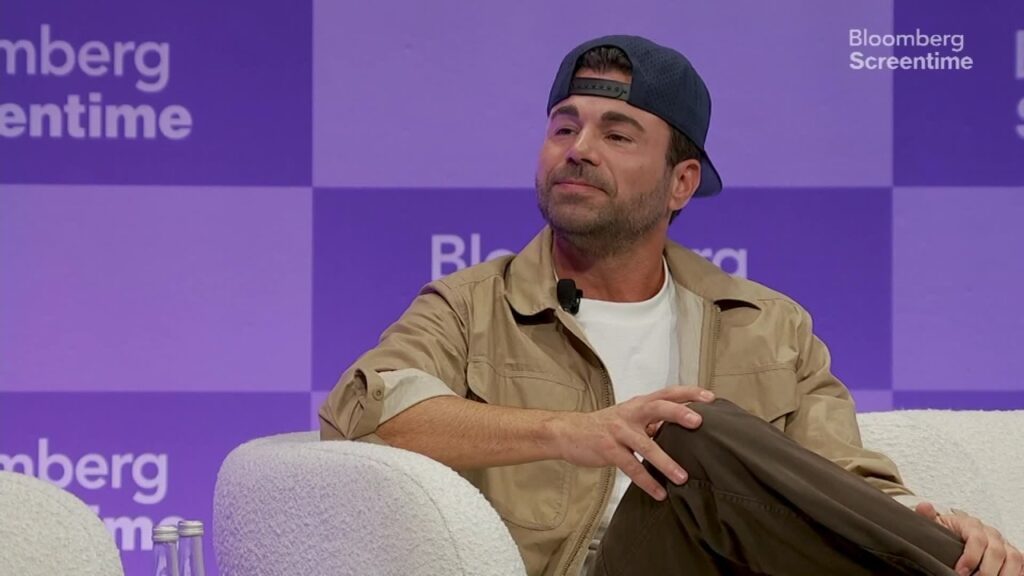

Peter McKinnon does not want to be in front of the camera. He said so at the start, he said so at the end, and somewhere in the middle he tried to hand his own script to someone else standing just off frame. But the DaVinci Resolve tips he walks through before making his exit are the kind that come from someone who has edited video for years and spent several weeks forcing himself to rebuild his entire workflow inside unfamiliar software.
The keyboard shortcuts nobody tells you about first
The foundational move in McKinnon’s setup is the Power Bins. Every editor accumulates assets over years: graphics, sound effects, VFX files. The problem is dragging all of it into a fresh project every single time. In DaVinci, clicking the three dots in the corner of the media window and checking ‘show Power bins’ makes every imported asset available across all projects automatically. It sounds minor until you realize how often you have been reimporting the same folder.
The keyboard customization section is where McKinnon’s years of editing muscle memory show up in the most practical way. His core logic is simple: his most-used keys have to be reachable with his left hand without lifting his wrist. He has assigned the split clip function to S, and delete to D right beside it, so a cut and a removal are two keys apart. Beyond those two, he uses Ripple Delete on Q and W. Q removes everything from the start of a clip to the playhead and closes the gap in one move. W does the same from the playhead to the end. Swap Clips sits on three and four, moving a selected clip left or right in the timeline without dragging. Select All Clips Forward is on A, which selects everything to the right of the playhead so a large gap can be opened and new material dropped in. Zoom in and zoom out of the timeline live on one and two.
Color grading, blurry backgrounds, and the render cache fix
For anyone building a music track underneath a dialogue edit, the Auto Track Selector on the left side of the timeline is worth knowing early. Deselecting it on a track means cuts made across other tracks do not ripple into the music layer.
On the color page, Remote Grades solve a problem that used to require copy-pasting grade settings across every instance of the same clip. Right-clicking in the clip track on the color page and selecting ‘use remote grades’ applies any correction to all instances of that file in the timeline simultaneously. McKinnon uses it on talking-head footage where he is constantly tweaking and does not want to chase every cut.
For vertical photos inside a widescreen timeline, the old Premiere approach involved duplicating the photo, scaling the bottom copy up, blurring it, and dropping the opacity. In DaVinci, the Blanking Fill effect dropped onto the clip handles all of it in one step.
The last tip, he admits, would have saved him real frustration weeks earlier. Playback slowdowns when effects are applied come down to pre-rendering. Going to Playback, then Render Cache, and selecting Smart tells DaVinci to quietly pre-render clips during idle time. A red line above a clip means it still needs rendering. A blue line means it is ready. McKinnon put it plainly: ‘that would have been helpful weeks ago.’
The glasses that cost someone their composure
At one point during the mid-video sponsor read, a second person stepped in to attempt the script. McKinnon handed over his glasses. The guest looked through them and said, simply, ‘dude.’ Nobody elaborated.
DaVinci Resolve 18.5 had just dropped with a relight feature McKinnon described only as ‘money.’ Whether that becomes the subject of a future reluctant appearance in front of the camera, he left entirely open.